
Insurance-Covered Dietitians empowering through Nutrition
Making it easy and affordable to see a dietitian in person and virtually.
In network with


For a long time, I wasn’t aware of how damaging the promotion of the thin ideal was, all I wanted was to fit in and be accepted. I think we all have those memories from childhood that we remember and now realize ‘oh, that’s the moment I learned that I wasn’t supposed to like my body.‘ I wish I had been resilient enough to hear that and think ‘nope, I reject that and don’t need to change my body to be accepted.’
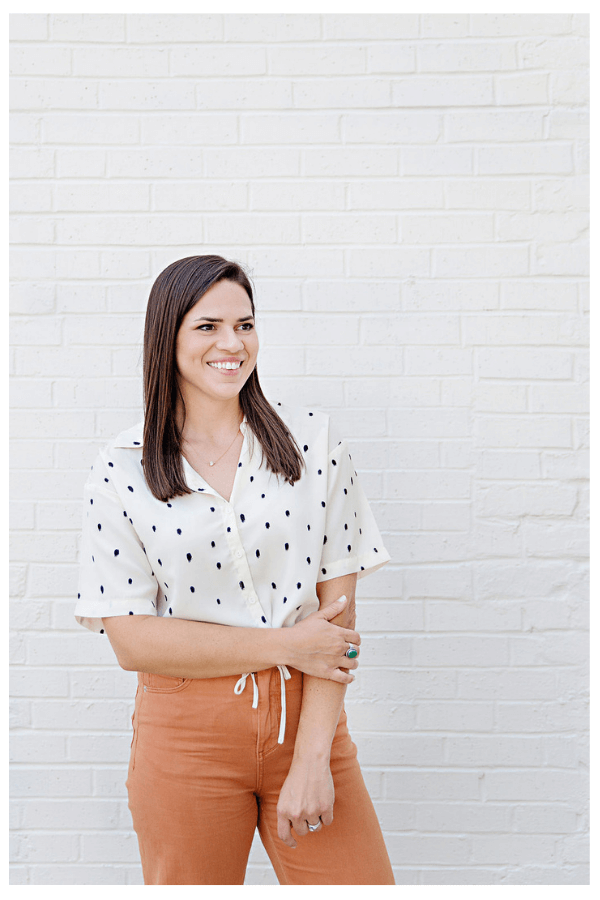
Unfortunately, it wasn’t that easy. That is why I choose a career in nutrition and created The Tasty Balance. I wanted to create a practice to help those struggling with eating disorders and chronic dieters as well as those who are wanting to intuitively eat and wanting a sustainable nutrition message. I’m confident this group of clinicians can help those who are also wanting to find food freedom and develop a healthy relationship with food.

“It’s like therapy, but for food. At my first session, we went over my history with binge eating and food issues and Ariel explained that I’m not crazy and that it’s actually diet culture that’s crazy and it takes work to undo that mindset.
GOING TO A DIETITIAN IS WAY MORE THAN JUST GETTING PUT ON A MEAL PLAN. ARIEL DID A GREAT JOB OF GIVING ME THE TOOLS TO CHANGE MY MINDSET ABOUT FOOD AND MANAGE MY BINGE EATING. 10/10 WOULD HIGHLY RECOMMEND!”
-Former client that achieved food freedom


A Unique Nutrition Counseling Philosophy
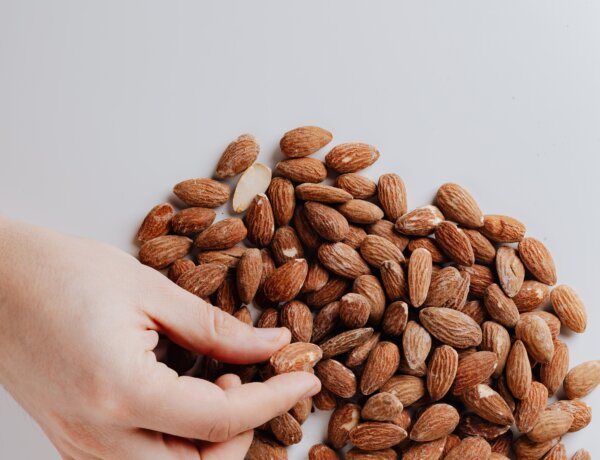
Each client is individually evaluated and provided with a nutrition plan they can follow for the rest of their lives. We use a non-diet approach meaning a balanced approach to food that does not include restriction or fear. We also incorporate the principles of Intuitive Eating.
The dietitians at The Tasty Balance have learned that the most meaningful breakthroughs come from meeting clients where they are at. We want to get to know you and what makes you tick. That way we can help you in a way that you may not even know you’ve been needing.
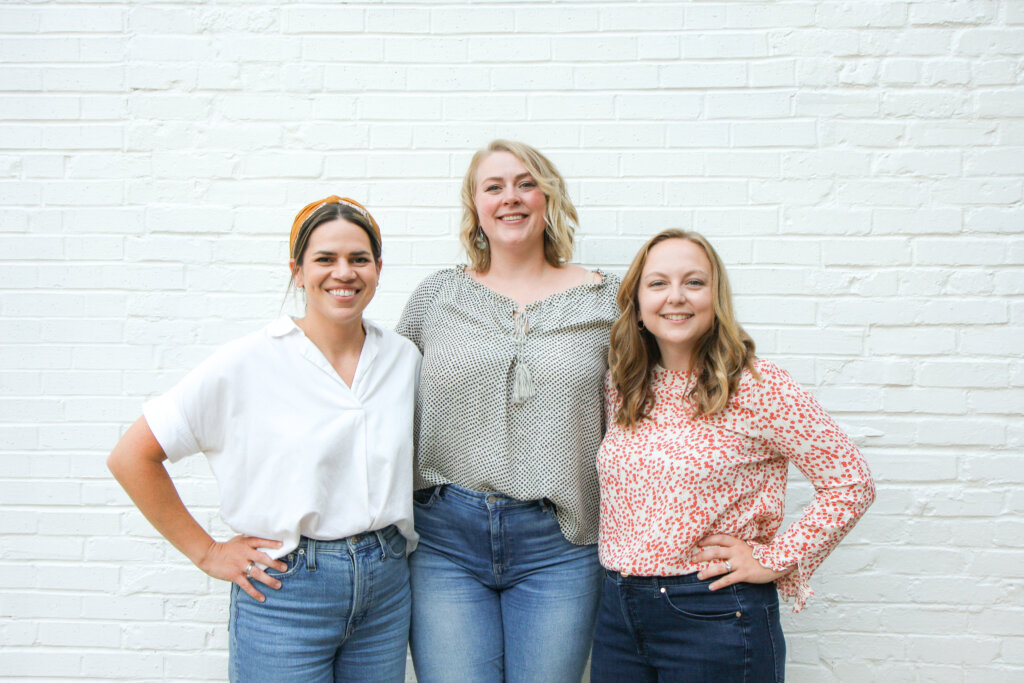
Meet our kansas city nutrition team
meet our st. louis nutrition team

“…this changed the way I do many things. Food isn’t forbidden and there are no inherently good or bad foods. I feel better about myself and less concerned with things like weight and dress size. I feel good about myself. And I love food again.
Visiting a nutritionist is a difficult step to take, but if you’re someone who struggles with food, it’s necessary to break the cycle. It was a life-changing event for me…”